-
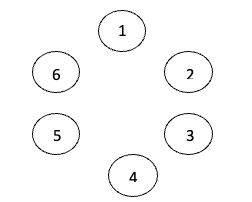
- Identify fasteners as specified. Locate six (6) of each of the 3/8 x 16 bolts, washers and nuts located in the assembly area.
- Assemble fasteners in test plate. Assemble one (1) of each of the bolts, washers and nuts in each of the circular holes.
-
- Verify proper torque on torque instrument
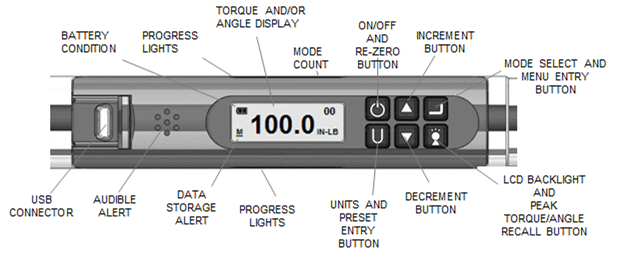
Turn On Wrench: While holding wrench still, momentarily press POWER button. Snap-on logo will be displayed followed by torque and angle re-zeroing screens (if angle mode has been previously selected).

-
- Torque Fasteners in a star pattern as specified
TORQUE MODE
-
-
- If needed - Set Target.
Use UP/DOWN buttons to change TORQUE target value.
-
-
- Select Units of Measure.
Repeatedly press UNITS button while on target TORQUE screen until desired units are displayed.
-
-
- Apply TORQUE.
Grasp center of handle and slowly apply torque to fastener until progress lights display green and a ½ second audible alert and handle vibration alerts you to stop.
-
-
- Release TORQUE.
Note peak TORQUE reading flashing on LCD display for 5 seconds.
PROGRESS LIGHTS
Yellow - First light indicates 40% of target torque or angle reached. Second indicates 60% of target reached. Third indicates 80% of target reached.
Green - Indicates target torque or angle reached.
Red - Indicates exceeded torque or angle target plus 4% or exceeded maximum Preset target. 
-
- Notify judge upon completion of the assignment.
Penalties may be assessed for improper assembly of a fastener, improper inputting of torque settings into the torque instrument, and/or application of torque to fastener.
|